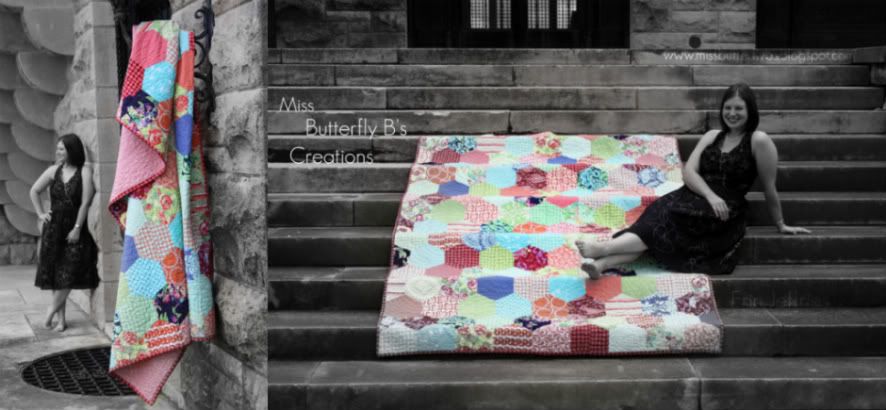
OKC Modern Quilt Guild Quilting Bee Month of June
This tutorial is for the 9 lovely ladies in our quilting bee.
This is my month so I chose to have some blocks that kind of look like these below.
But....I want you to "bee" creative, have fun, get modern on me! :)
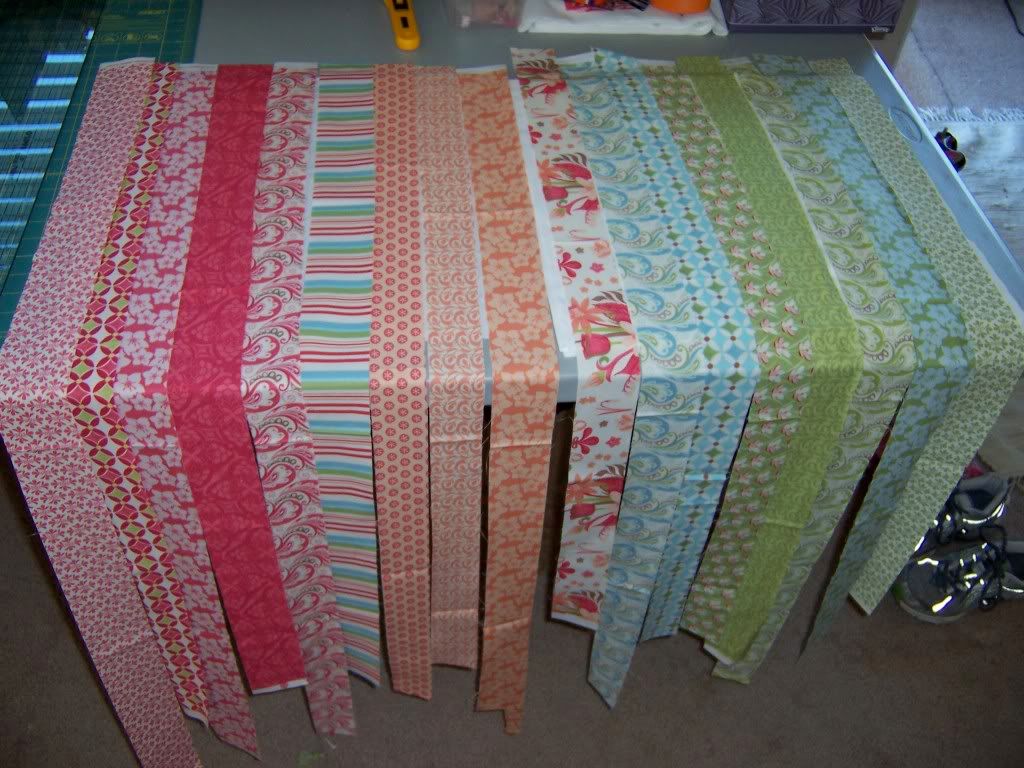
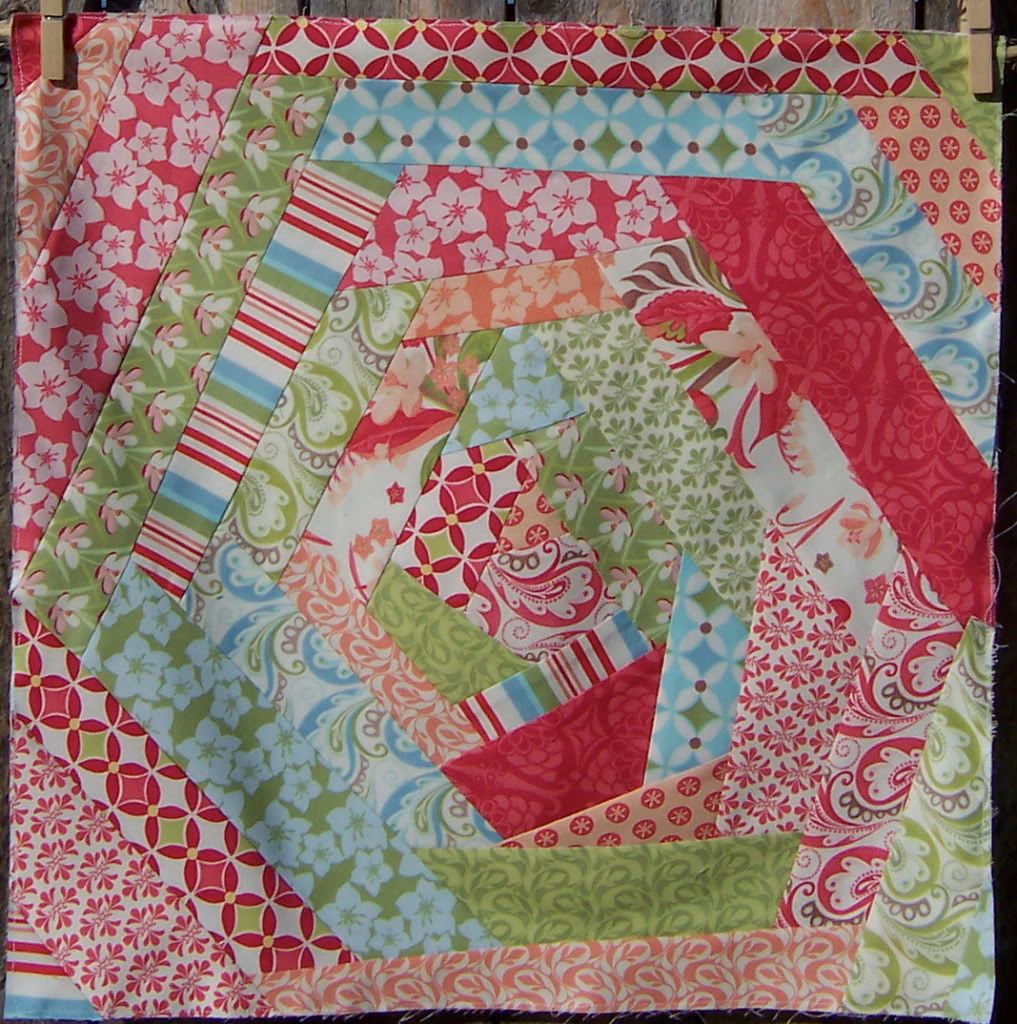
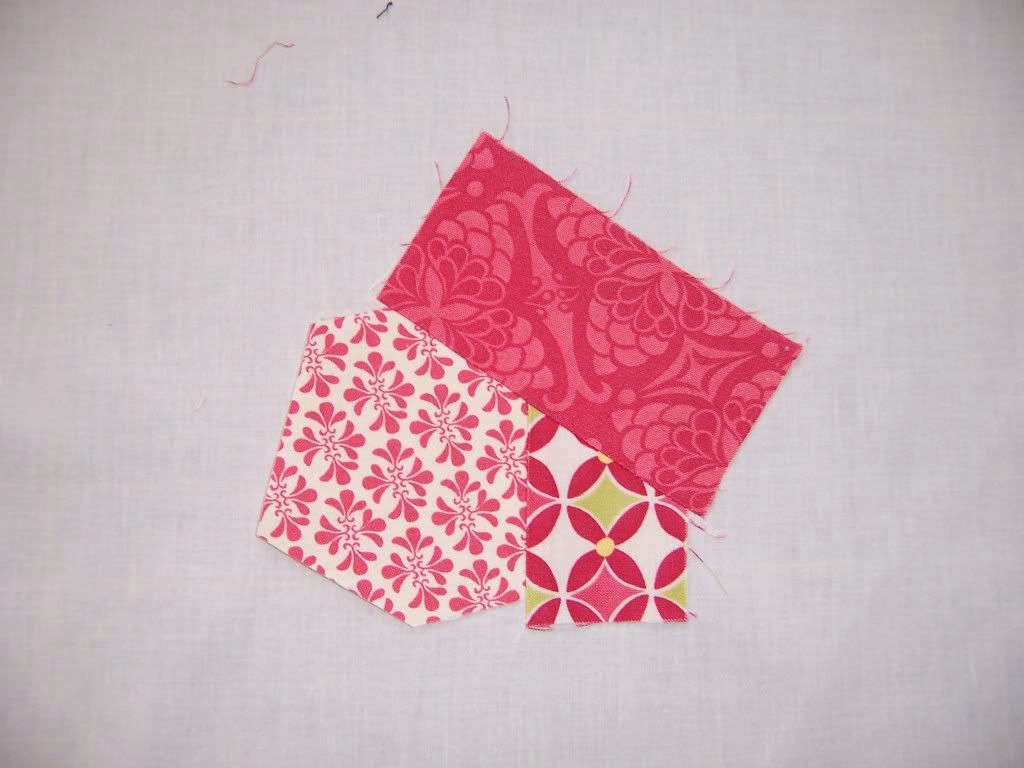
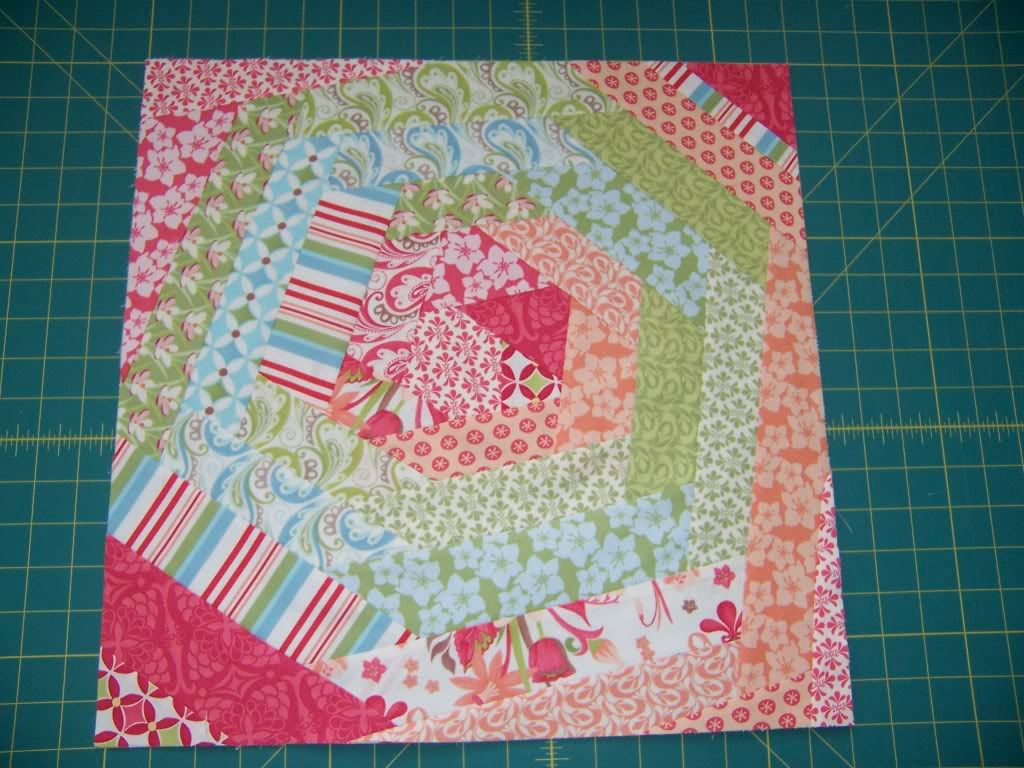
I made 2 different "Verna Spice" 17" blocks.
The one on the left was six sided and pieced more strait and orderly. The one on the right was 5 sided and pieced more wonky, I reshaped and cut the block as I worked on it. The left one was just paper pieced strait on the muslin, the right one was pieced "floating" (not on a foundation) until I got to the corners. When I got to the corners, I paper pieced it so that I didn't waste fabric!
Let's start with the left block step by step:
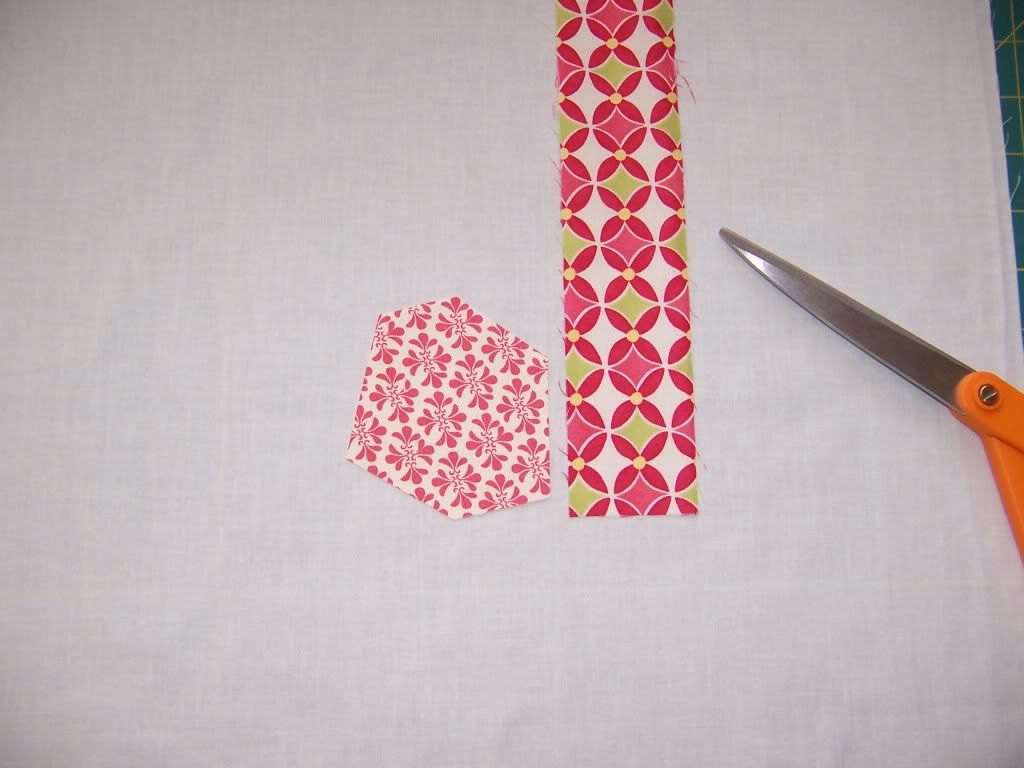
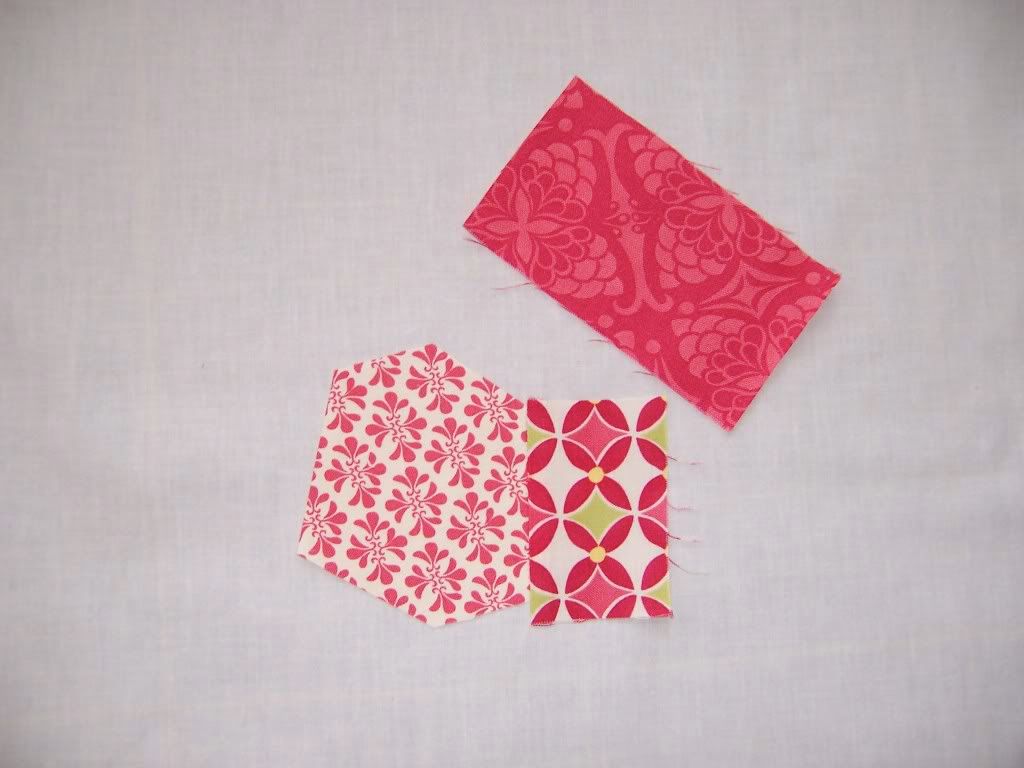
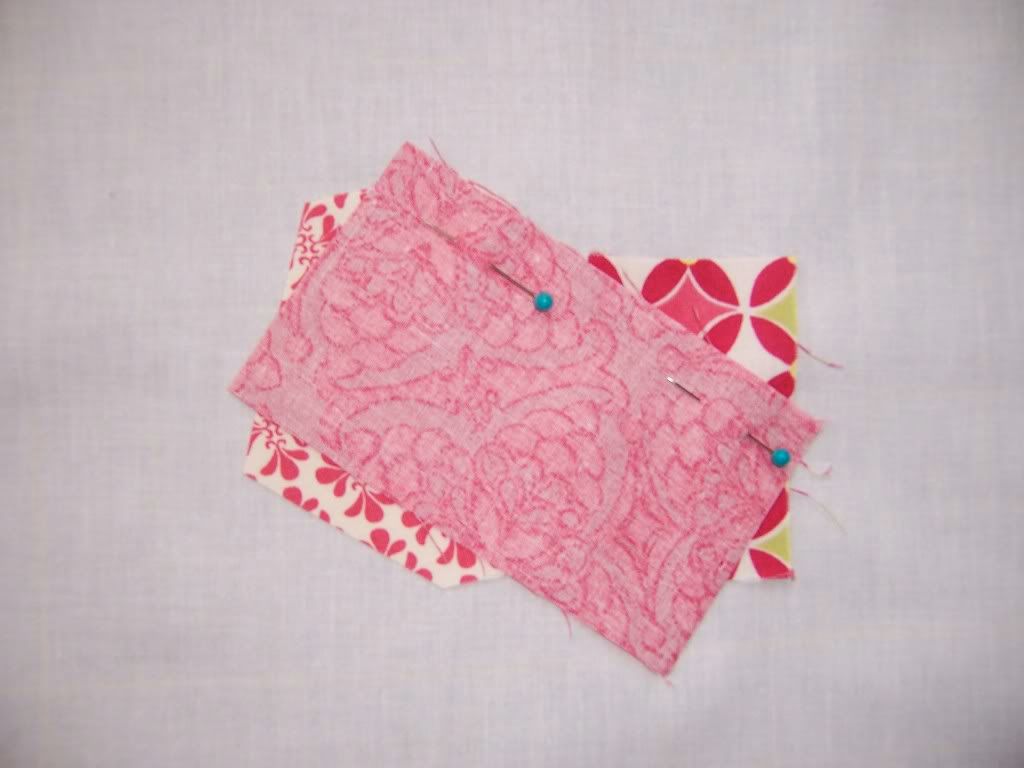
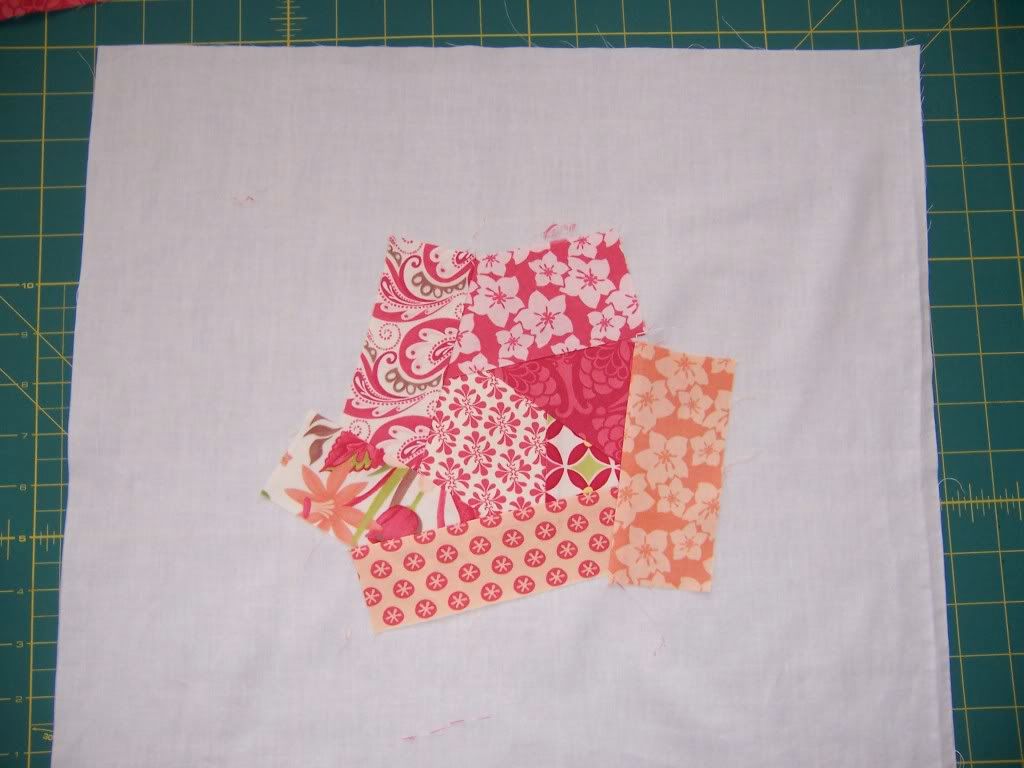
Here is my 6 sided shape I made from one of the 3.5" fabric squares (2 are included). Pick a side to start with and a fabric to sew on next. Cut the fabric strip with your scissors just a bit longer than the side you want to sew it to.
Now fold over the strip you cut so that "right sides" are together and stitch a 1/4 inch seam with your 1/4 seam foot.
Press the seam and strip with your iron so you have this to the left. Now move on with the next side and pick out another strip of fabric. See how I cut the reddish strip a bit longer than that side.
Pin the fabric (right sides together) and sew a 1/4 seam. remember the line you follow with your fabric is the next side of the shape (center fabric). However....if you are making a more wonky block, this is where you can sew the strip on a little crooked to get a crazy pieced effect. Just make sure you cover the seam with fabric and don't leave holes in the design as you go around stitching your strips on.
Press open with your iron. Viola!
Here is my 3rd strip.
Here is my 4th strip after I stitched it on. See how the "right sides" or nice sides are together. Now I will flip it over and press.
Press with iron and get ready for the next strip.
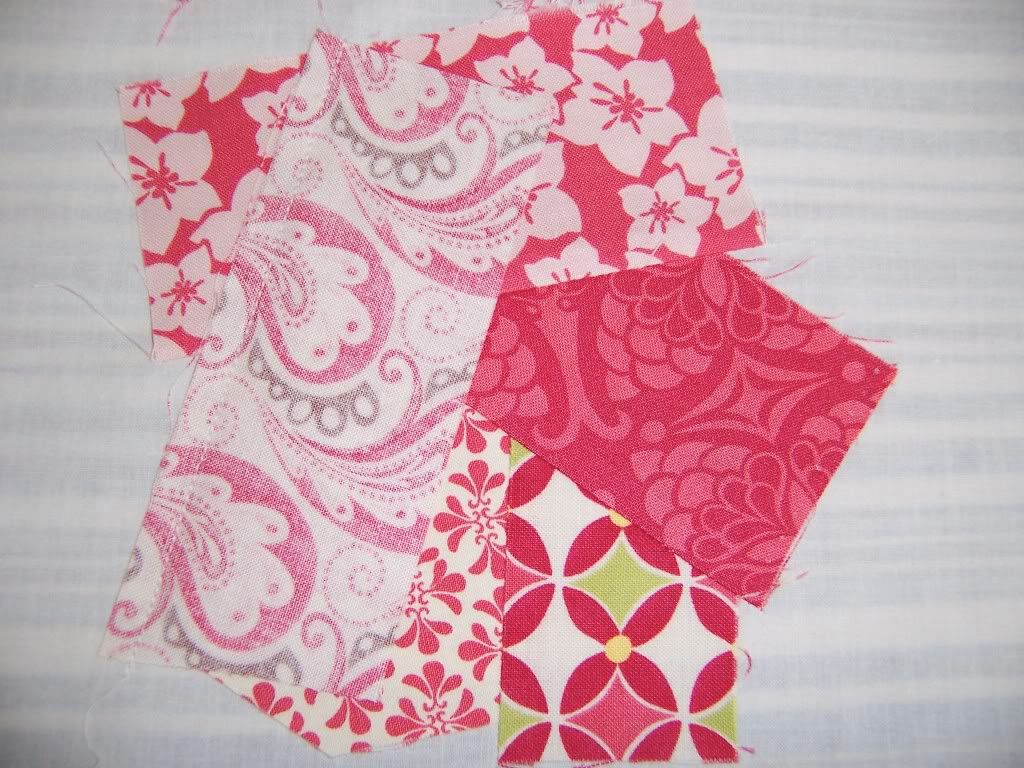
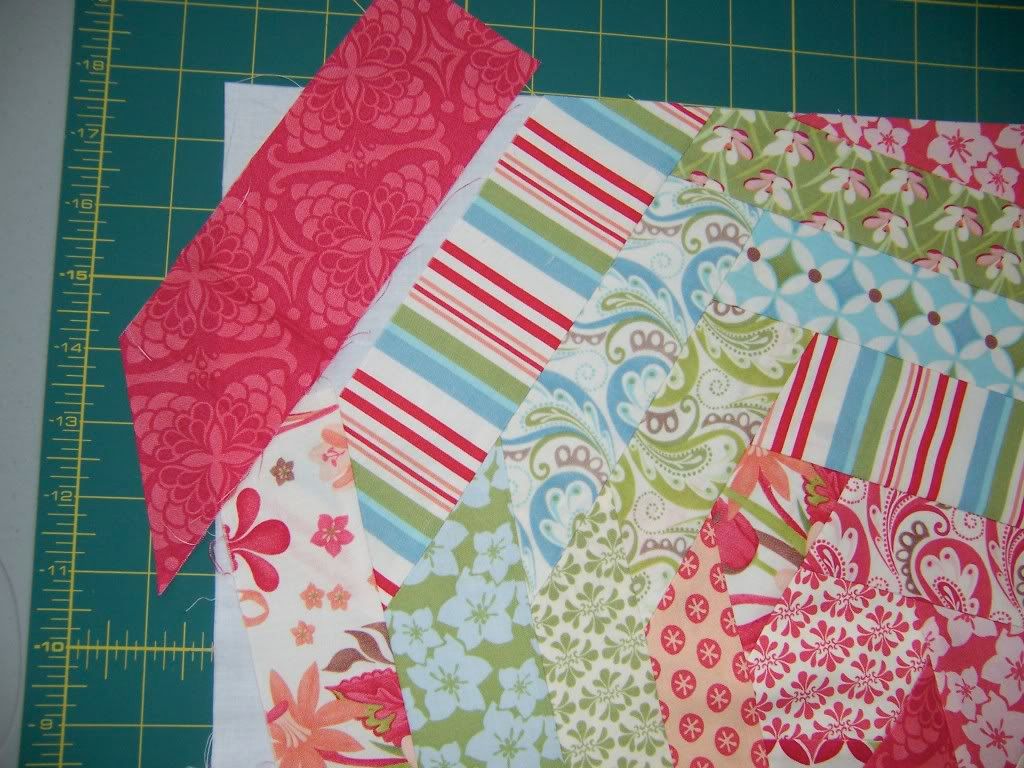
I have finished one time around the shape now with 7 strips. Just keep going around stitching the strips on with the same method. You can even piece the strips you sew on with a few fabrics if you wanted to. Get creative! Sew strait lines! Or overlap and sew wonky lines! Whatever! Have fun with the 2 blocks you make.
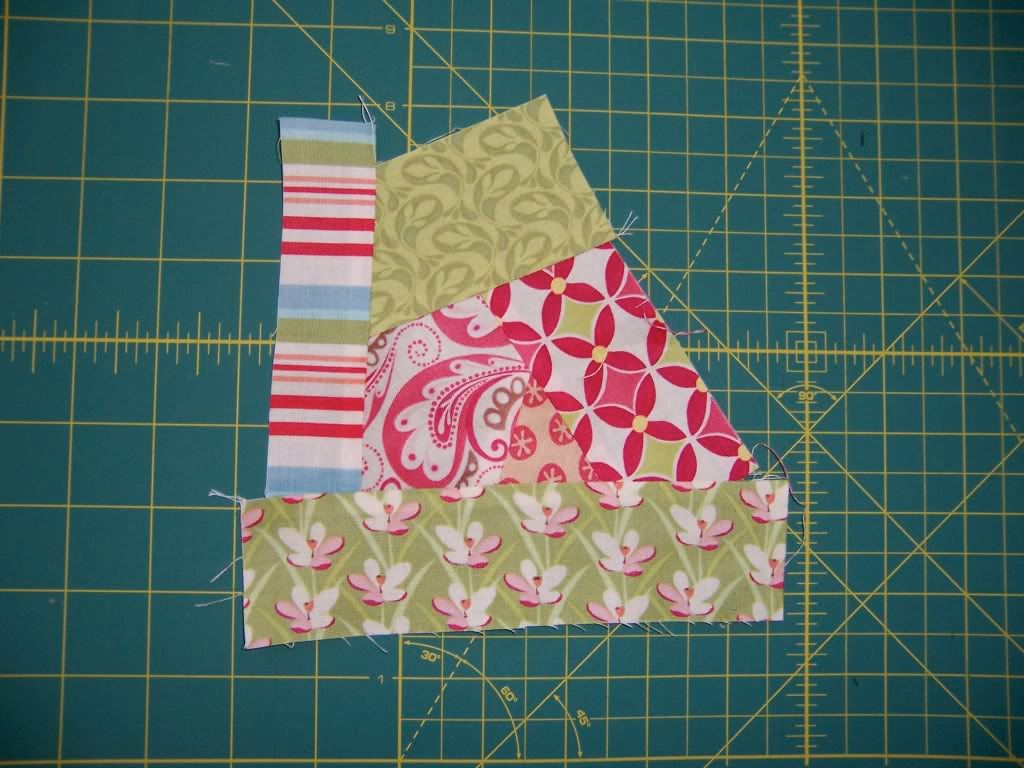
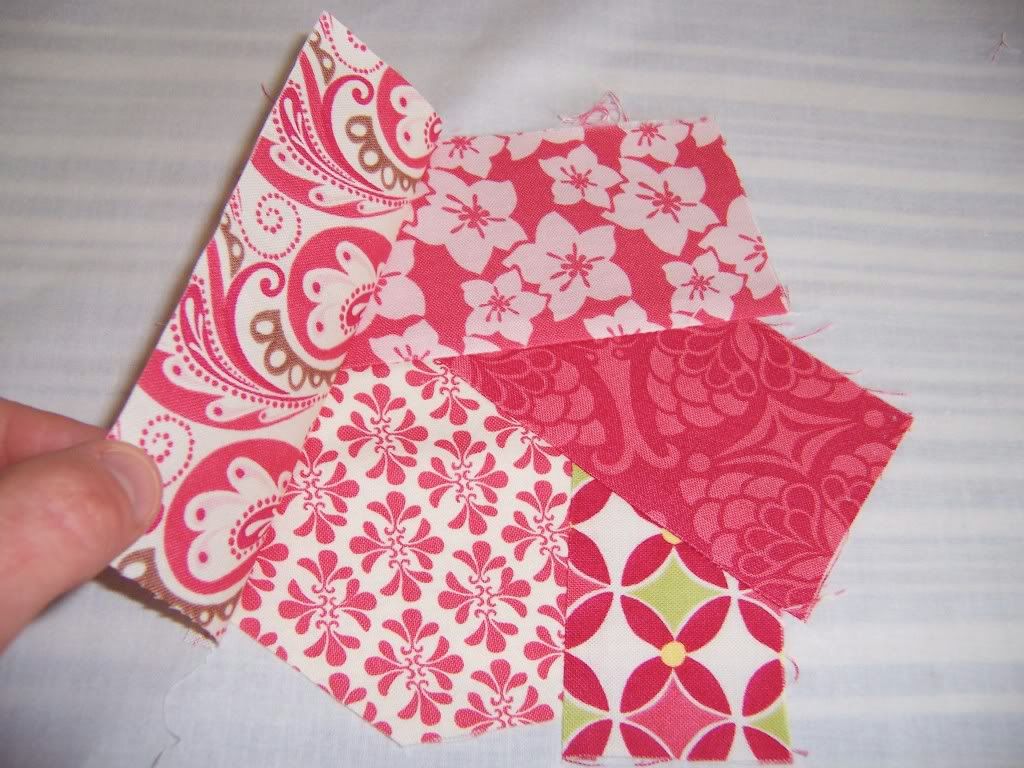
In this picture I have finished one corner and cut it flush with the muslin. I will move on to the next corner.
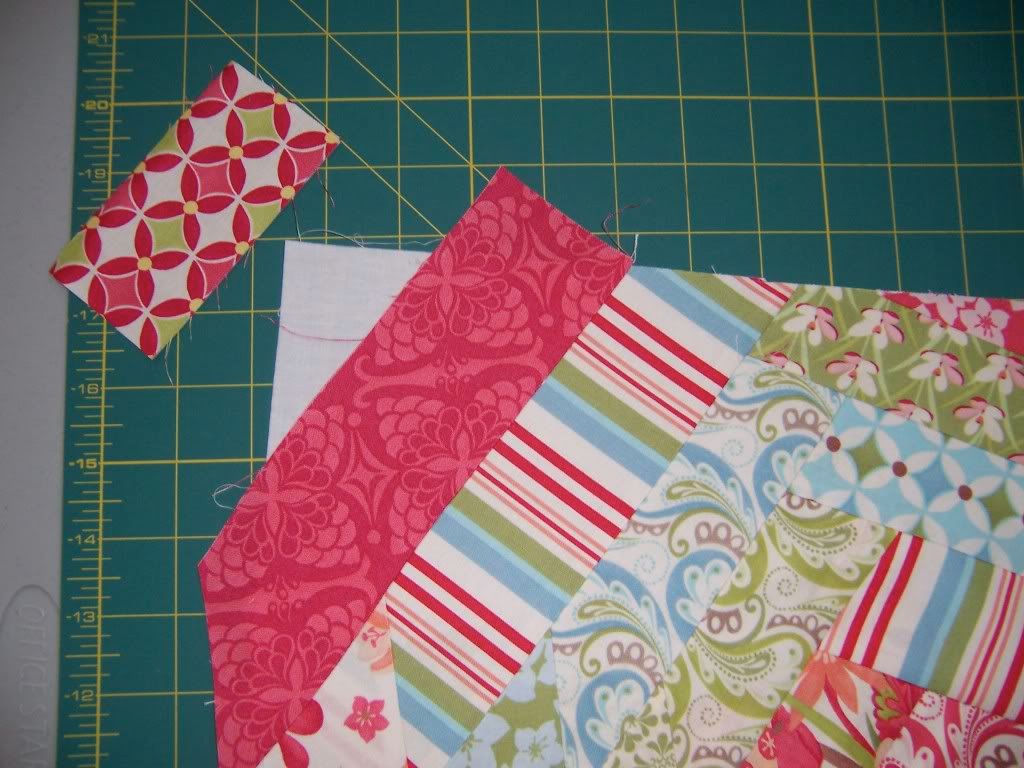
Here is my reddish strip cut to a good length. I like the paper piecing method with the muslin so I can see where I am on completing the block. If you just make a big block and go back with an acrylic square and cut it to the right size, I found that I waste the corner fabric when I chop it off. Paper piecing allows you to see your shape and cut your strips just the right length.
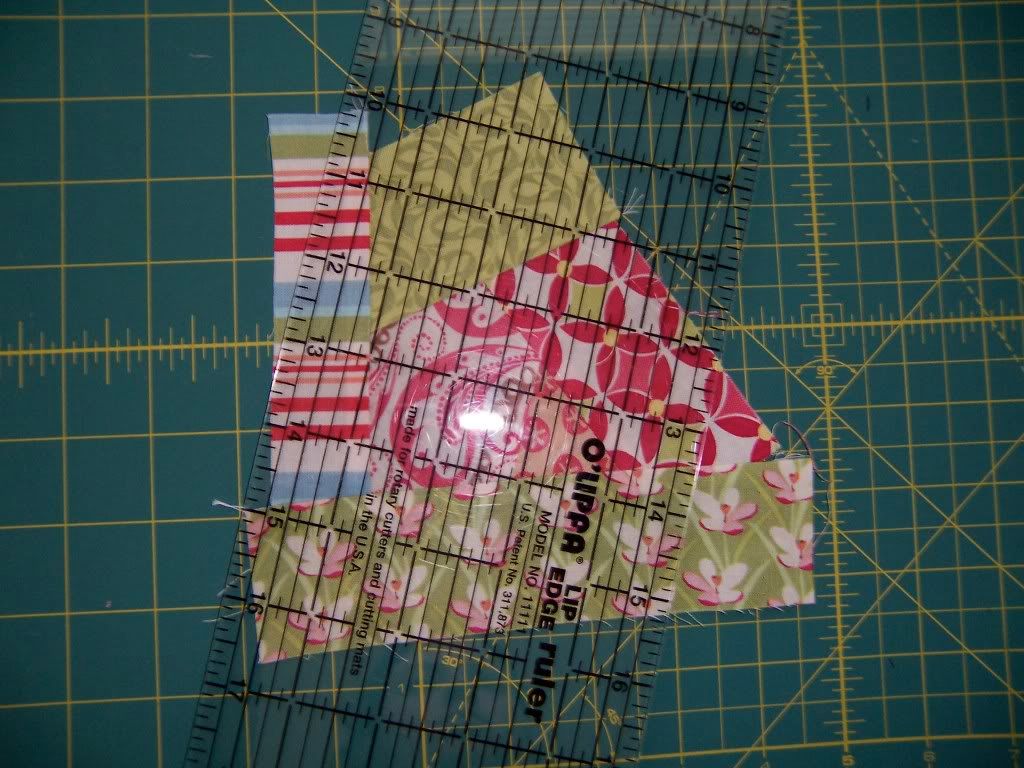
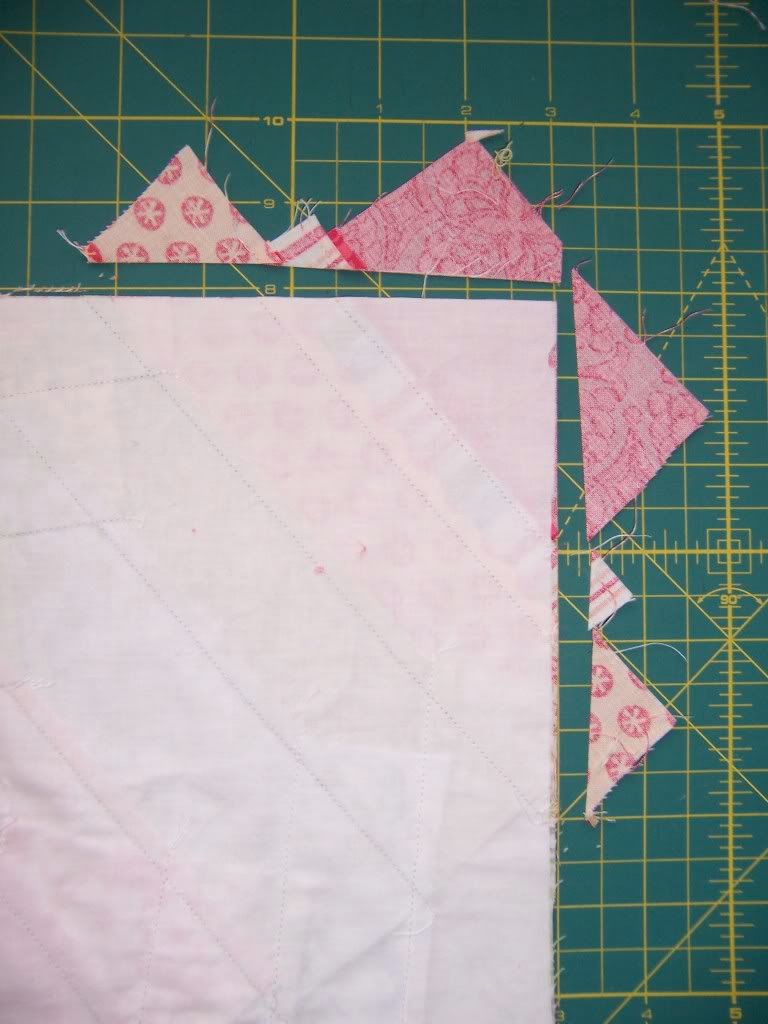
Reddish strip has been pressed and now you are ready for the last corner strip of fabric. After you sew it on and press it, flip over your block as shown below and cut off the excess fabric on the corners.
Keep sewing until all the muslin is covered. Working around the center shape till you reach the corners.
Finished! Ta Da!
I will post a
part 2 of this tutorial showing how to piece this block a little more wonky and a little more impromptu. Stay tuned in say 2 months from now for a look at this quilting bee quilt finished. I can not wait to see what the girls sew up!!! =D

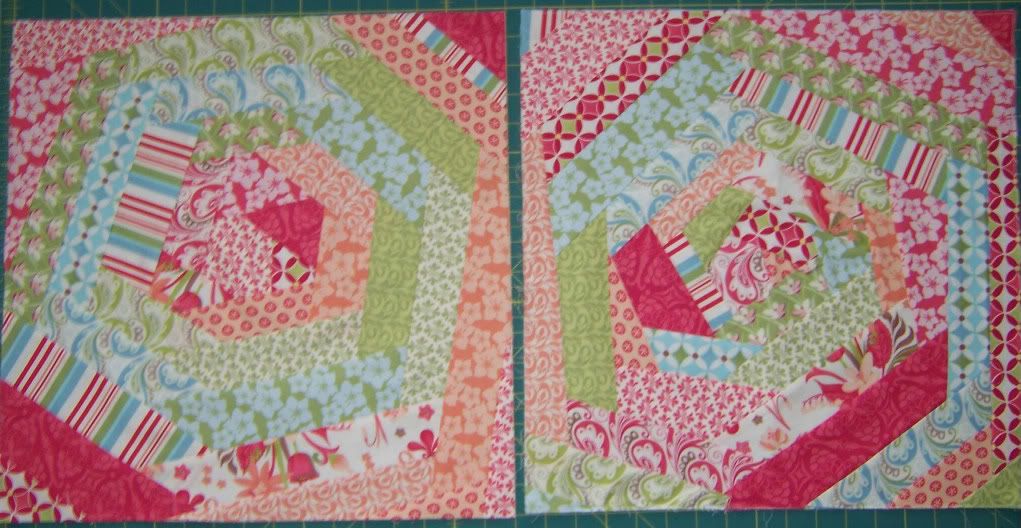 The left block was created in part 1. The right block was a lot more "crazy" (can you tell the difference?)