The Quilting Bee Block {part 2}
Please read part 1 first. Part 1 is the real tutorial showing step by step examples. Part 2 is just of you want to be a little more experimental with your block. I will just show a few snapshots and tips to get your own creativity flowing.
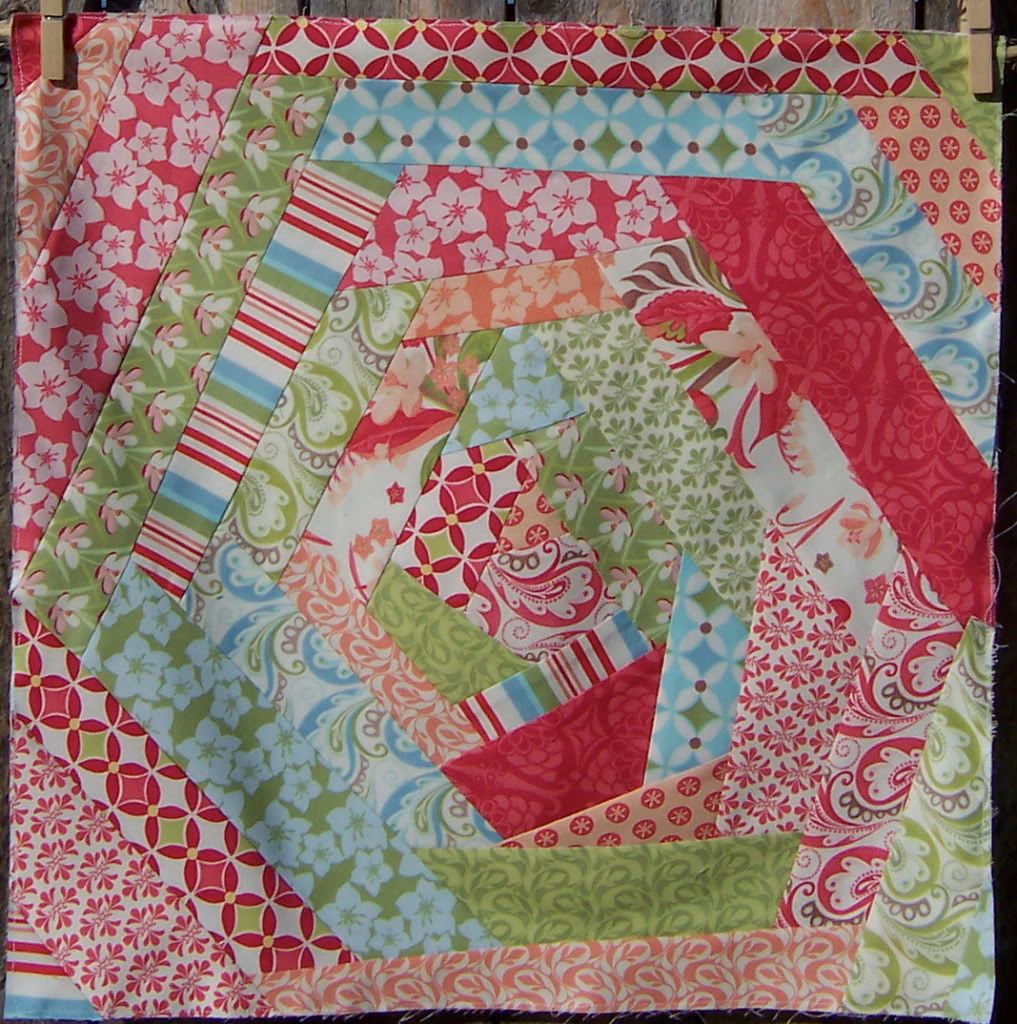
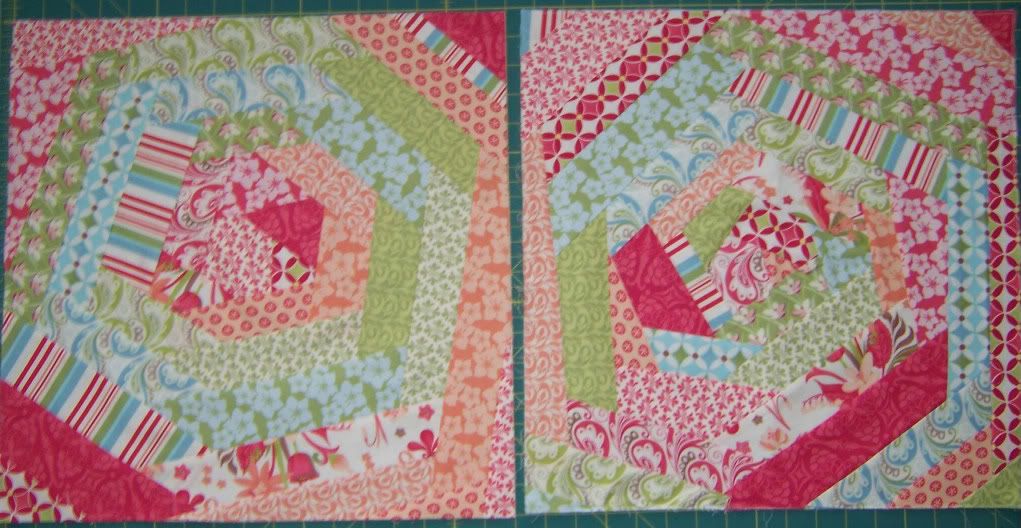 The left block was created in part 1. The right block was a lot more "crazy" (can you tell the difference?)
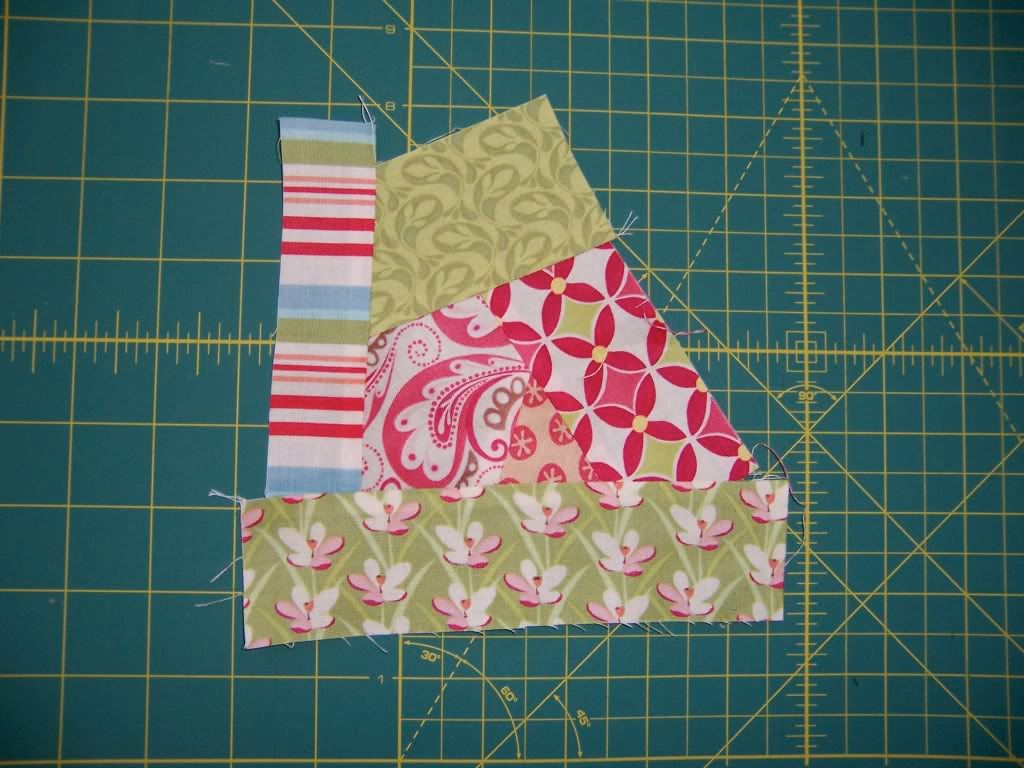
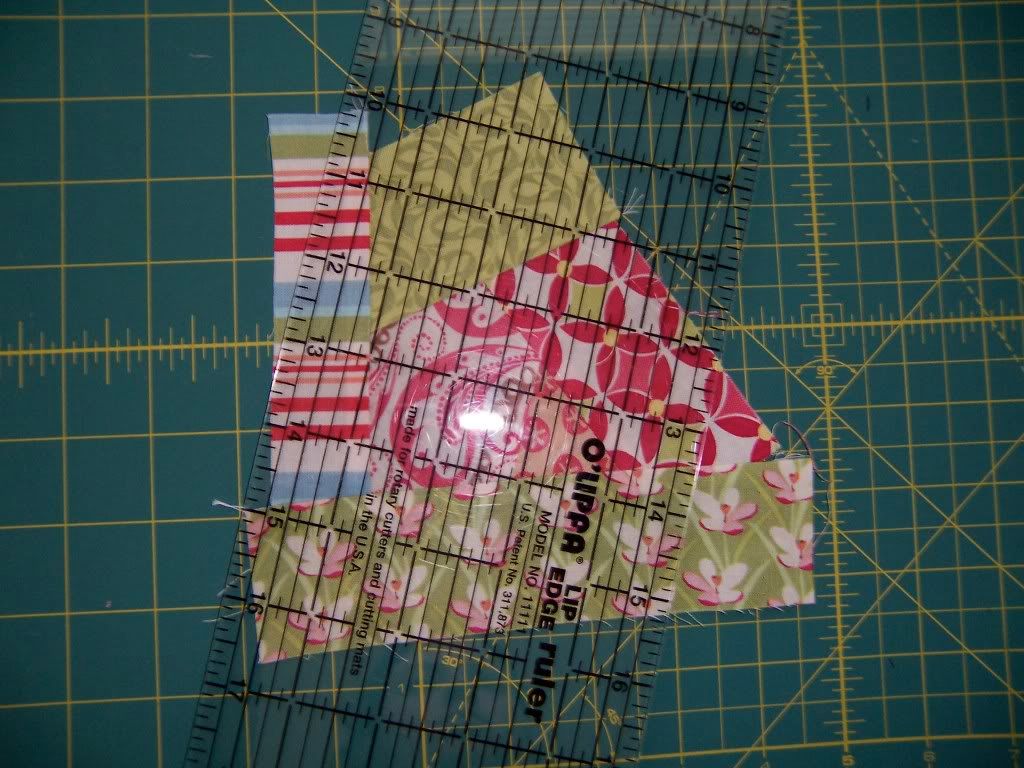
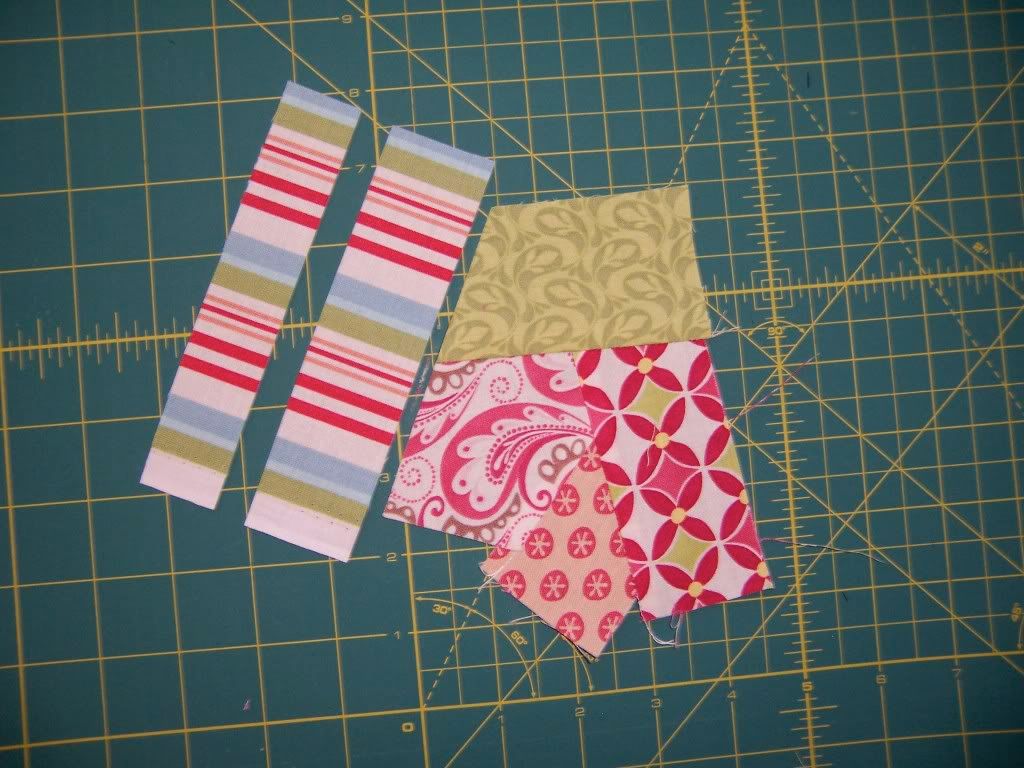
I'm going to chop it off here and add another side. It should of had 5 sides anyway, but that little peach strip I started with got buried in the mix. And that's okay! When you piece a block with out a backing or foundation, you can chop on it and do anything. It's more flexible. However, you can still be flexible with the paper piecing method. You just move your fabric and stitch it overlapping the fabric I'm going to cut off in this picture with the ruler.
In this picture I liked the stripe, but felt it was too wide. I cut it strait, but what would happen if you cut it a bit skewed? Could be neat?! I don't know. With sewing and quilting sometimes you just have to throw out the instructions. Throw out the pattern. Just go for it and see what happens. Some of my best quilts have been born this way. I have this quilt idea....a teal and orange quilt...but I keep over thinking it. I can't even cut into the fabric yet because I don't have a "plan". I am realizing that I love the fabric so much that I am over thinking it and stressing out way too much about it because I want it to be perfect. There is a time and place for perfect. I should work on perfecting my machine binding skill. But sometimes perfection stifles creativity. And when that happens....you need to work on a project that you can really let go on. Or learn how to be more flexible and creative! he he he. I will re-visit my teals and oranges and try what I preach. Back to the quilt block...
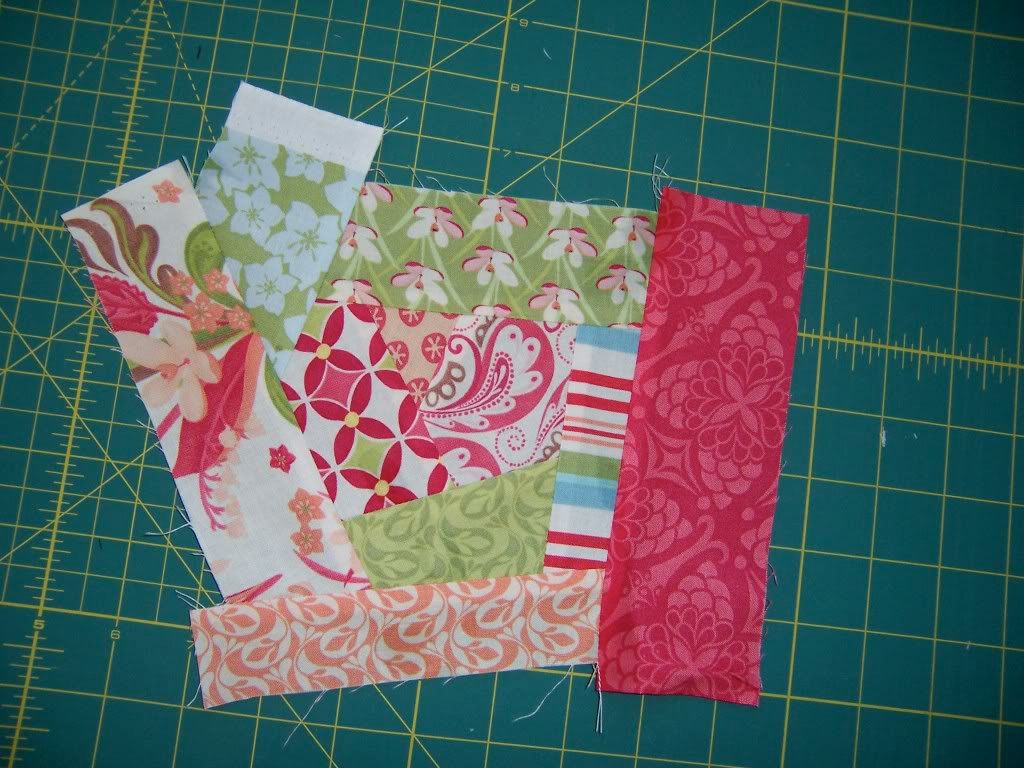
Alright. See how the block is taking on that 90 degree angle with the red and the green strips? I'm not liking it. Yep....time to get out the ruler and blade.
Aaahh, much better. Now I keep stitching on strips around and around.
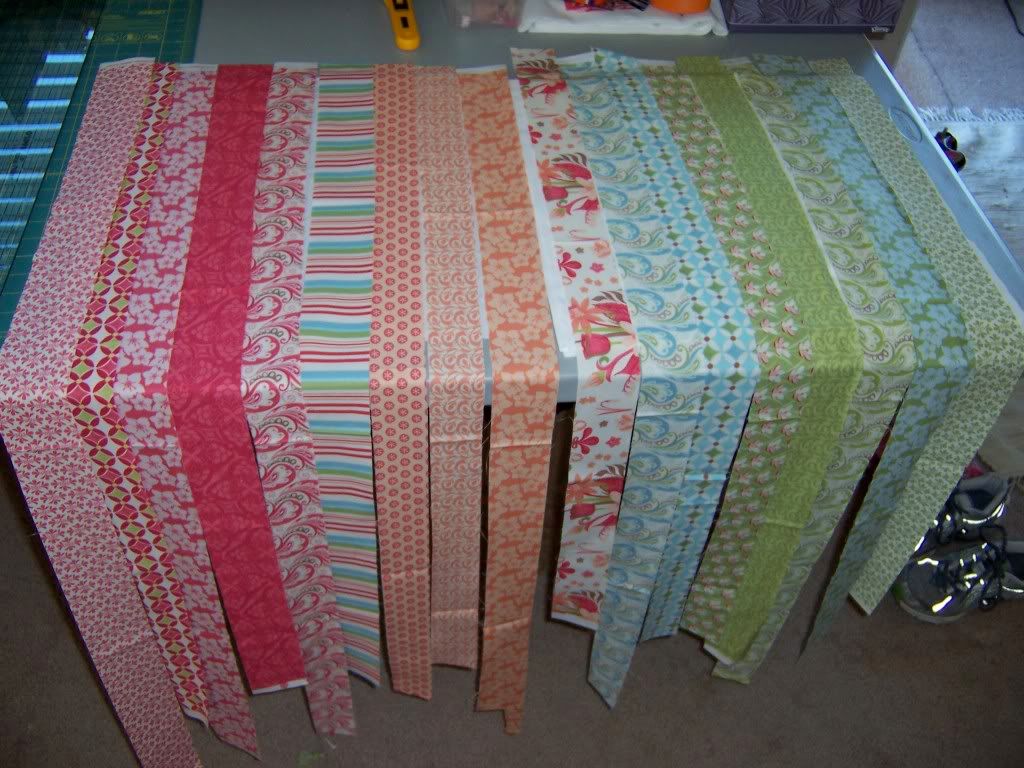
Whenever I am working on a project, I like to lay out my fabrics and visually see what I have throughout the entire process. Even with quilts, I lay out each block on the floor before I sew them together. Quilts can look nice or they can look GREAT. It's all about color and placement. I am often know to get out the high stepladder, climb up over looking my quilt, and snap a picture. That gives me a wonderful birds-eye view of how my quilt is looking before I stitch the blocks together.
Happy Mothers Day and blessings to my OKC bee friends, Erin





0 comments:
Post a Comment